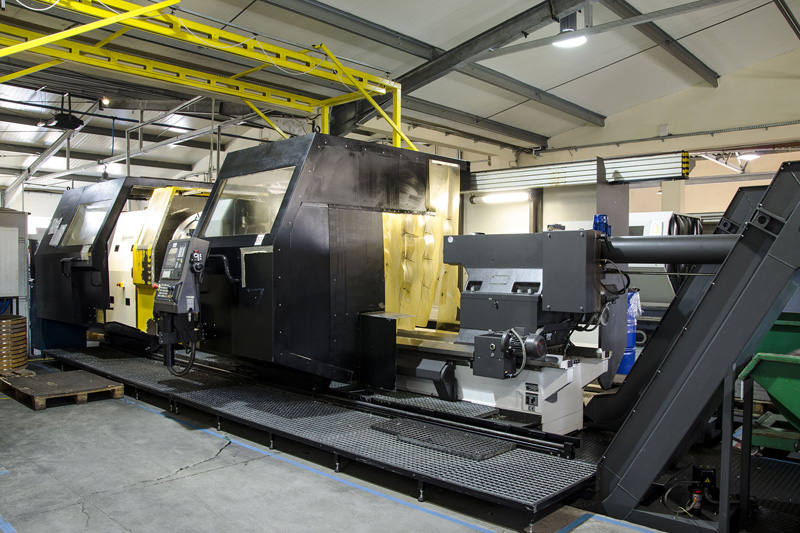
LATHES CNC

DMG MORI CTX BETA 2000
  • maximum turning diameter: 600 mm
  • maximum turning length: 2000 mm
  • spindle bore: Ø104mm
  • hydraulic steady range from: Ø85-350
  • driven tools
  • hydraulic horse
  • 12 position turret
SUA 125 C NUMERIC
  • diameter of the circulation over the bed: 1250 mm
  • diameter of the circulation over the slide: 940 mm
SUA 150
  • maximum turning diameter over bed – 1500 mm
  • maximum turning diameter over saddle – 1020 mm
  • turning length: 4000 mm
  • spindle swing: Ø 260 mm
  • hydraulic rest, range: Ø50-315
  • bohrblock for large boring tools
  • tailstock for deep hole drilling: Ø170 L = 1200 mm
  • 9 – Position turret with driven tools
CYBERTECH TURN 4500M
  • maximum turning diameter: 810
  • maximum turning length: 3048mm
  • spindle swing: Ø275mm
  • hydraulic rest
  • driven tools
  • the independent magazine for two boring: Ø80
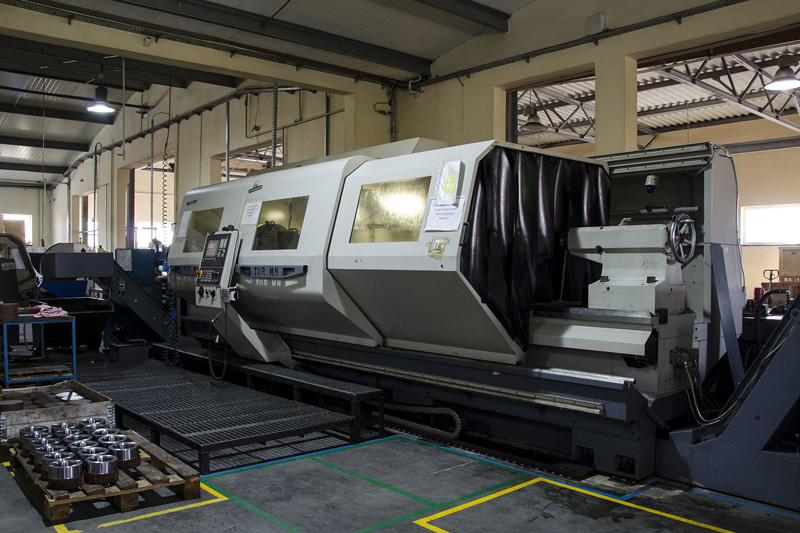
TUR 930 MN
  • maximum turning diameter:
    • over bed – 930mm
    • over saddle – 630mm
  • maximum turning length: 4000mm
  • spindle swinge: Ø220mm
  • bohrblock for large boring tools
  • hydraulic rest
TUR 630 MN
  • maximum turning diameter:
    • over bed – 630mm
    • over saddle – 370mm
  • maximum turning length: 2000mm
  • spindle swing: Ø140mm
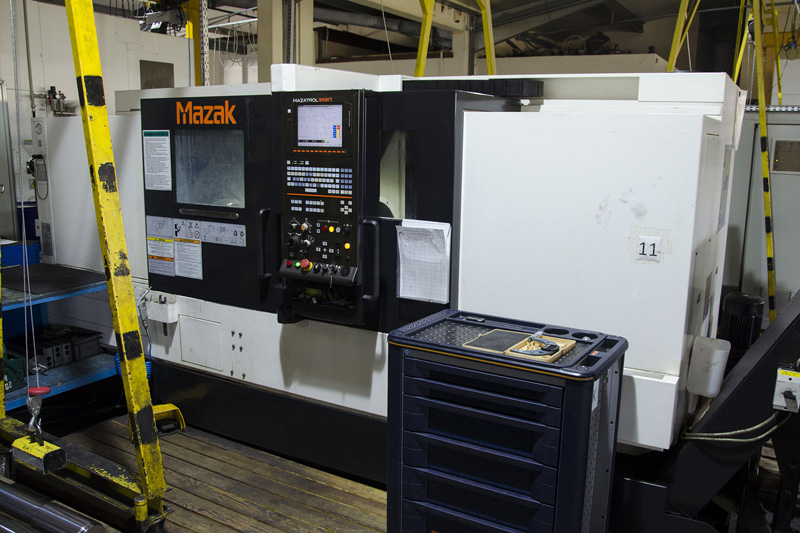
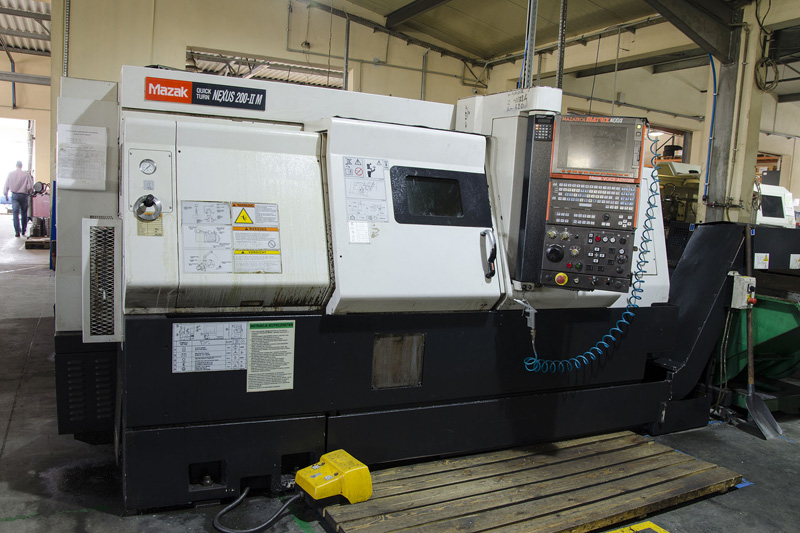
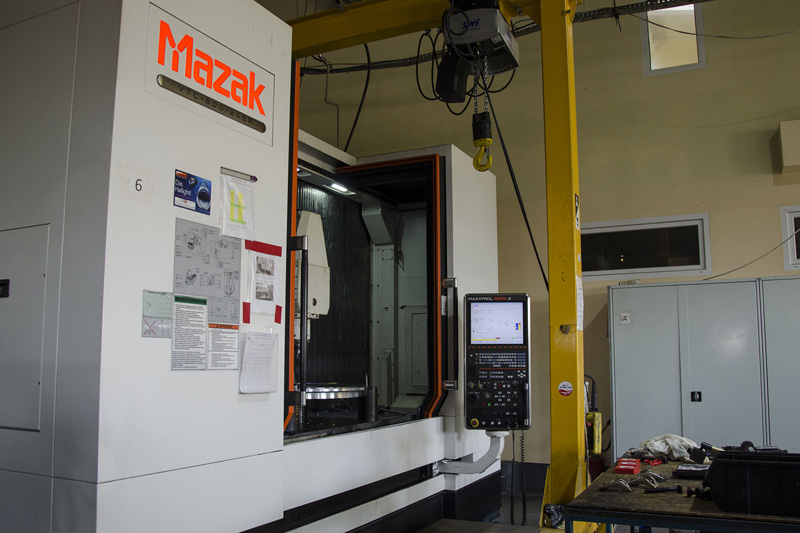
MAZAK QTN 350 M
  • maximum turning diameter: 420mm
  • maximum turning length: 1233mm
  • spindle swing: Ø102mm
  • driven tools
MAZAK QTN 200 M
  • maximum turning diameter: 380mm
  • maximum turning length: 1048mm
  • spindle swinge: Ø65mm
  • driven tools
TAE 35
  • maximum turning diameter: 320mm
  • maximum turning length: 500mm
  • hydraulic swing cylinder: Ø65mm
  • driven tools
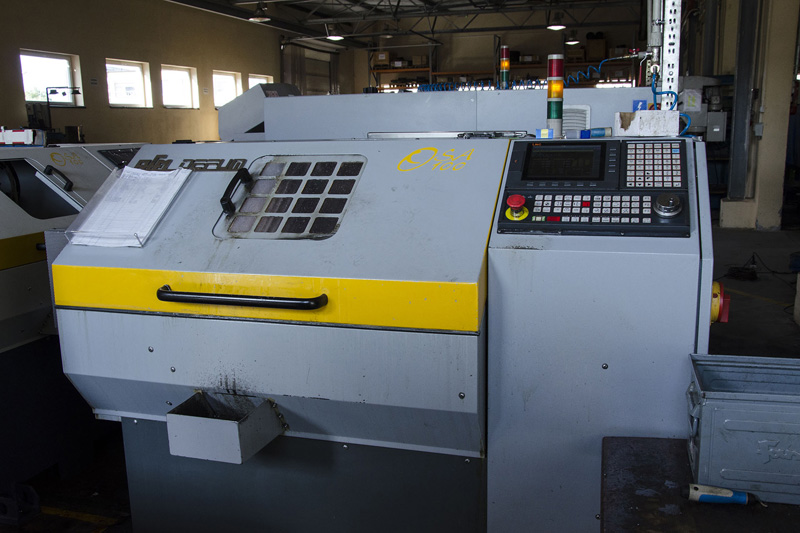
OSA 100
  • cross traverse X 275mm
  • traverse Z 200mm
  • maximum turning diameter over saddle 128mm

MILLING MACHINES CNC

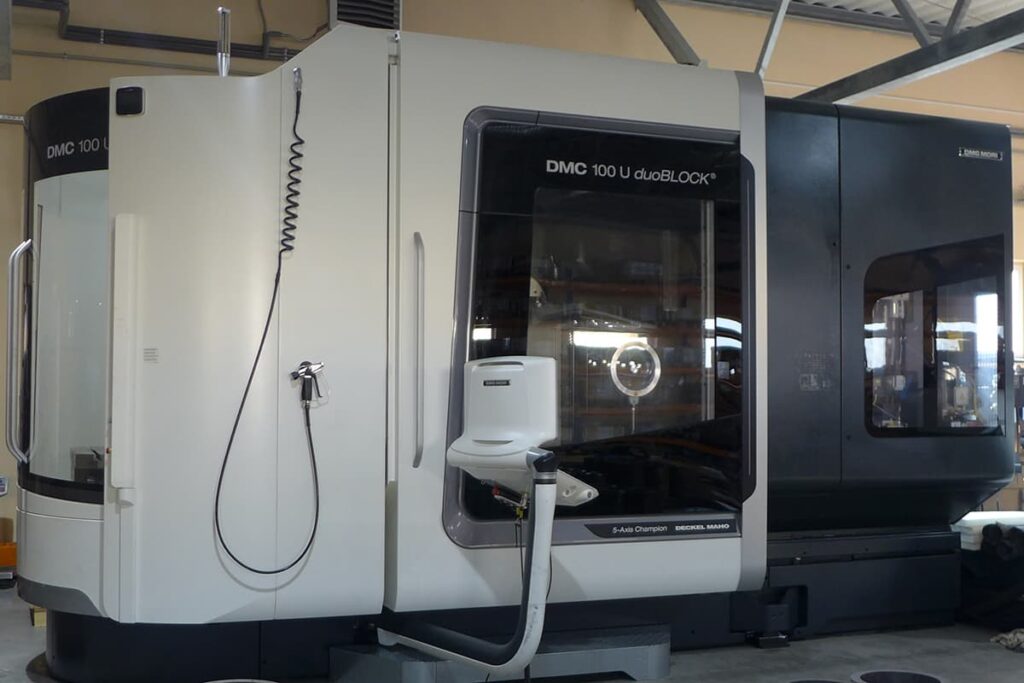
DMC 100 U DUOBLOCK
  • max. X-axis travel: 1000 mm
  • max. Y-axis travel: 1250 mm
  • max. Travels in the Z axis: 1000 mm
  • max. Table load: 2000 kg
  • table length: 1000 mm
  • table width: 800 mm
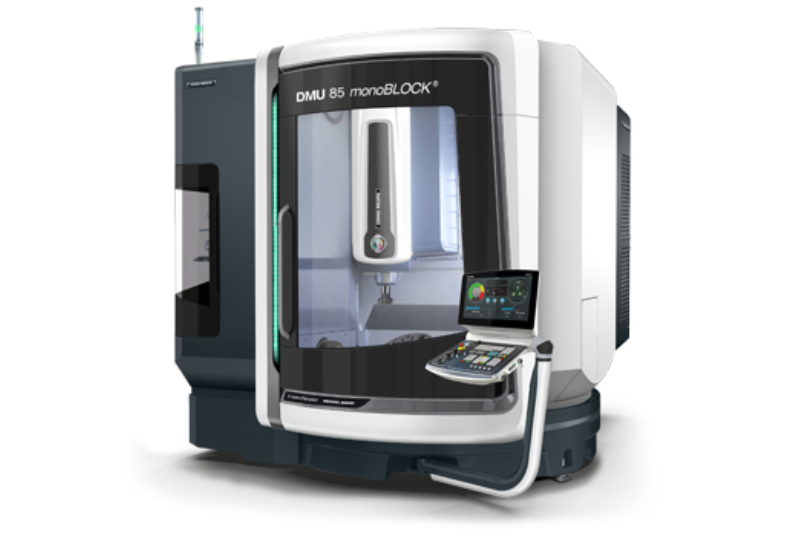
DMG DMU 85 monoBLOCK
  • max. X-axis travel: 935 mm
  • max. Y-axis travel: 850 mm
  • max. Travels in the Z axis: 650 mm
  • max. diameter of the workpiece – 1040 mm
  • max. height of the machined object – 590 mm
  • max. weight of the workpiece – 1500 kg
VTC – 800/20SR
  • table size 2500 x 820
  • working space 2000 x 800 x 720
  • swivel head +/- 110 °
  • turntable (fourth axis)
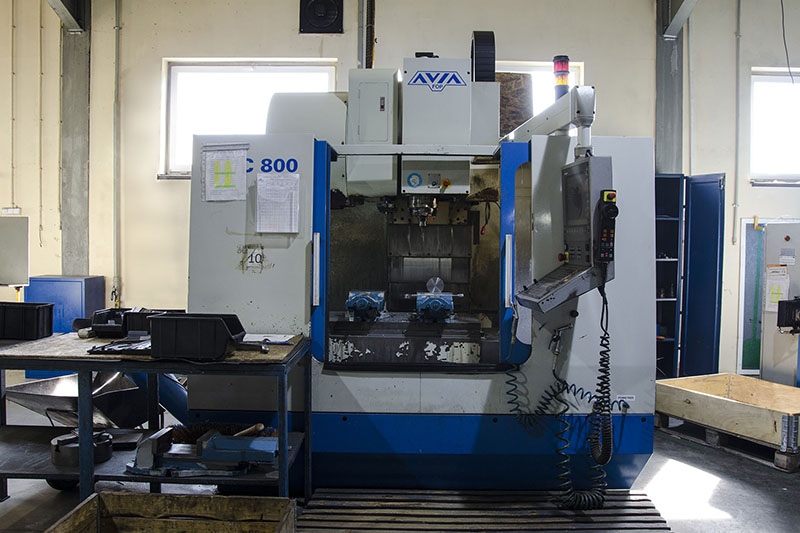
VMC 800
  • traverseX 800mm
  • cross traverse 540mm Y
  • vertical traverse 620mm Z
  • working area: 800mm x 540mm
  • tool magazine: 24 pcs
  • CNC turntable – 4th axis
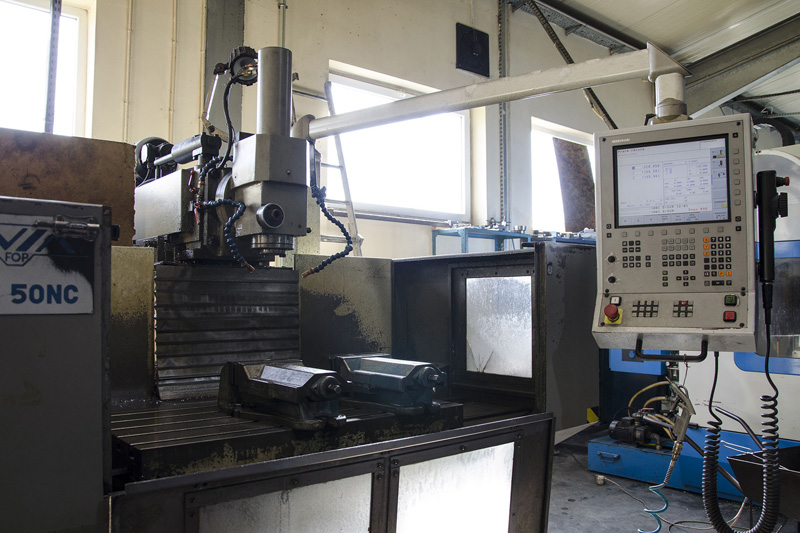
FNE 50
  • traverse X 1000mm
  • cross traverse 500mm Y
  • vertical traverse 420mm Z
  • working area: 1000mm x 500mm
VTC-800/30SR
  • table size 3500×820
  • working area 3000x800x720
  • swivel head +/- 110 °
  • turntable (fourth axis)

SAWS CNC

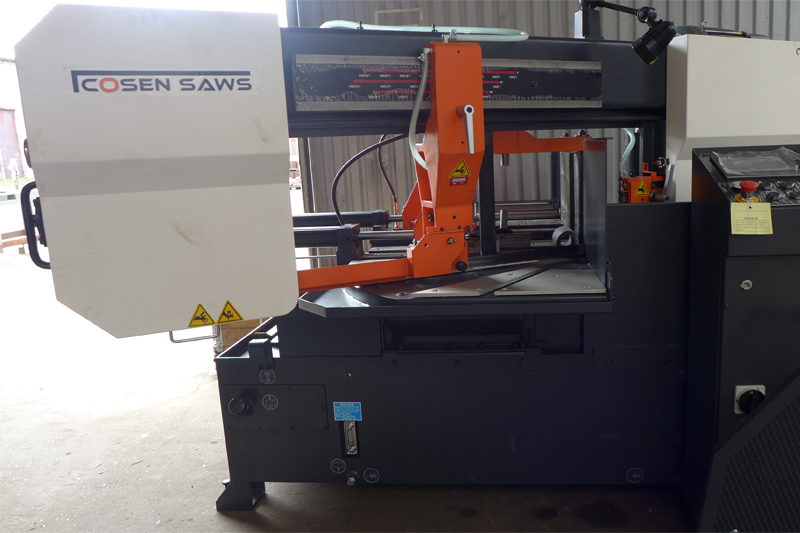
COSEN C-510MNC
  • possibility of cutting 360mmx510mm
OTHER CUTTERS
  • the possibility of cutting 400mmx400mm
  • the possibility of cutting 400mmx330mm
  • the possibility of cutting 760mmx560mm

Measuring devices

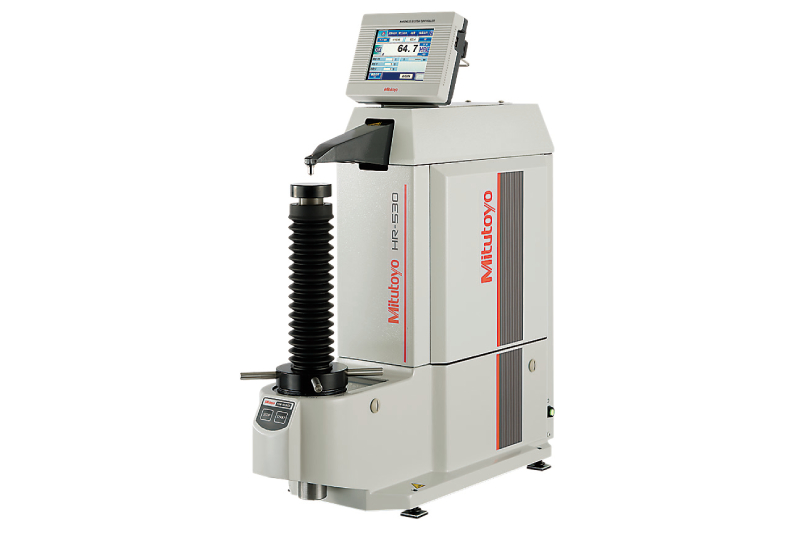
MITUTOYO HARDNESS TESTER SERIES HR-500
  • hardness measurement methods: Wizhard Rockwell, Rockwell Superficial, Brinell
  • loads: 29.42N, 98.07N
  • super Rockwell test force: 147.1/294.2/441.3
  • rockwell test force: 588.4/980.7/153.2/245.2/294.2N
  • brinell test force: 61.29/98.07/153.2/245.2/294.2/306.5/612.9/980.7/1226/1839N
  • adjustment of test force and hardness measurement: through the controller
  • load control: Automatic (load, dwell, unload)
  • dwell time: 0-120s (in 1s increments)
  • max. object height: 205mm (for standard flat anvil)
  • max. object depth: 150mm (from the center of the indenter shaft)
  • conversion to other hardness scales: HV, HK, HRA, HRB, HRC, HRD, HRF, HRG, HR15T, HR30T, HR45T, HR15N, HR30N, HR45N, HS, HB, HBS, tensile strength
MITUTOYO HEIGHT GAUGE LH-600D
  • range: 0-972 mm
  • slider stroke range: 600 mm
  • accuracy: 1.1 + (0.6L/600) μm, L = length (mm)
  • counterbalance method
  • number of stored programs: 50
  • number of stored data: Up to 60,000
  • measurement force: 1N
PROFILE PROJECTOR MITUTOYO PJ-A3000
  • benchtop profile projector based on a vertical beam, telecentric optical system that provides distortion-free viewing on a 315 mm diameter protractor screen.
  • the measuring station includes linear scales for fast and accurate linear measurement up to 1μm/.0001″, with angle measurement on the screen with a resolution of 1’/0.01° of arc.
COORDINATE MEASURING MACHINE ABERLINK ZENITH TOO
Measurement range:
  • axis X: 1000mm
  • axis Y: 3000mm
  • axis Z: 800mm
Accuracy:
  • very high measurement accuracy of approximately 3.8 +4L/1000 μm, where L = length (mm), achieved through the latest metrology and production methods.

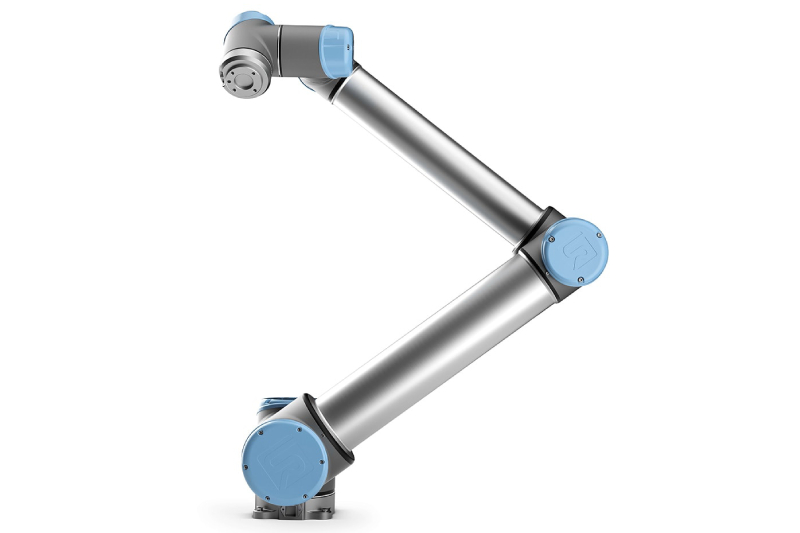
Collaborative robots

UR5e
UR10
Milling CNC . Turning CNC . Deep drilling .